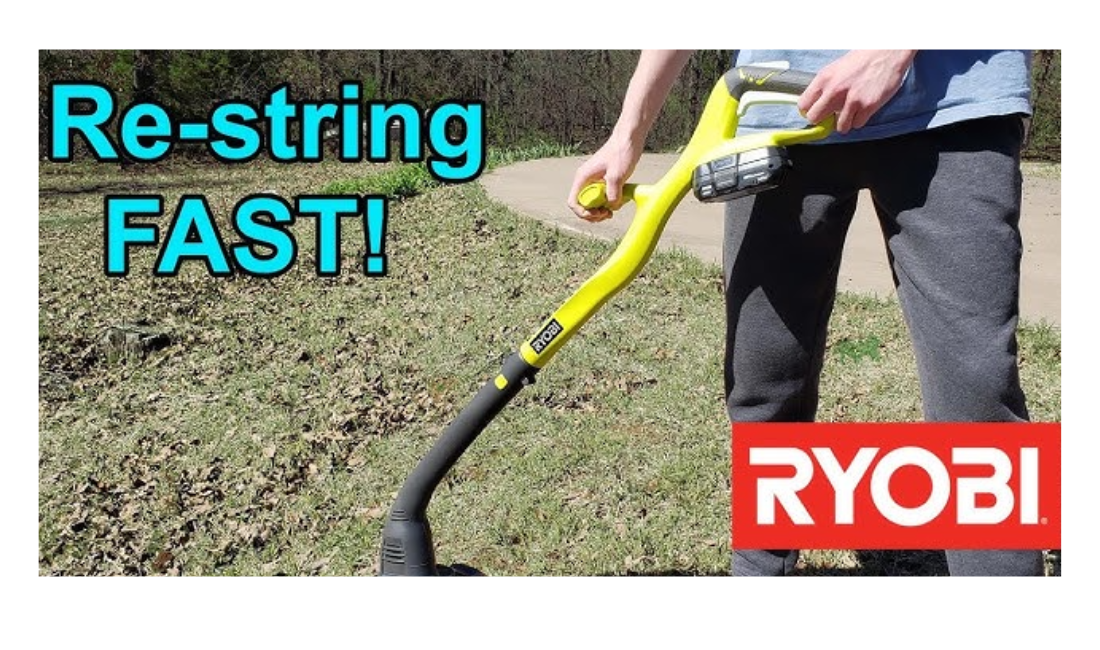
How to Restring a Ryobi Weed Eater? Step by Step
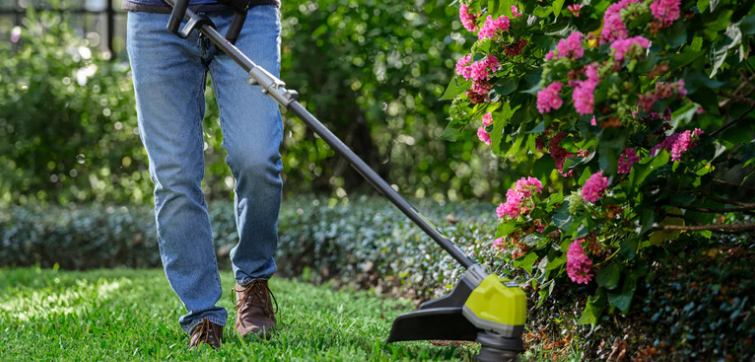
A Ryobi weed eater is one of the most useful tools for keeping lawns neat and tidy. It trims grass around fences, trees, and edges where a mower can’t reach. But even the best trimmer stops working well once the line wears out or breaks. Replacing the line—or restringing the trimmer—is a normal part of maintenance.
Many users find this task confusing at first. The spool looks complicated, and the line keeps tangling. Yet once you understand the process, it becomes simple. You only need the right line, a few minutes, and a careful hand.
This guide explains how to restring a Ryobi weed eater in detail. It covers every type of head, from the standard dual-line spool to the newer ReelEasy models. By the end, you’ll know exactly how to do it without stress or confusion.
Understanding Your Ryobi Weed Eater
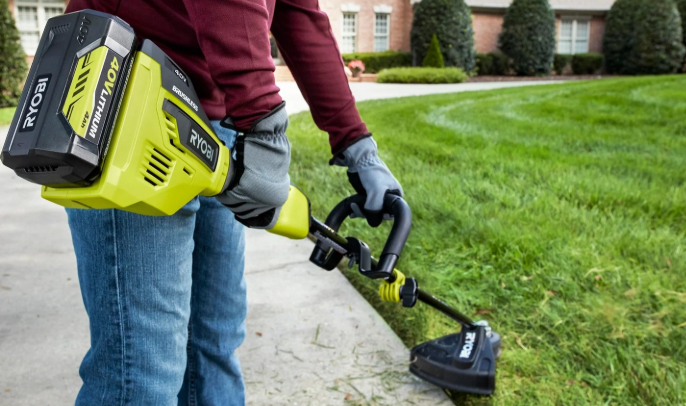
Ryobi makes several types of weed eaters—corded, cordless, and gas-powered. Each uses a slightly different head design. Before restringing, it helps to know which one you have.
Common Head Types
-
ReelEasy Bump Feed Head
This type uses an auto-feed system. You bump the head on the ground while trimming to release more line. Many modern Ryobi models use this design. -
Dual-Line Spool Head
This design holds two lines wound in opposite directions. It provides a wider cutting path and faster trimming for large areas. -
Single-Line Head
Some lightweight or older Ryobi models use a single line. It’s easier to restring but may need replacement more often.
Identifying your head type helps you follow the correct steps. The process is similar across all models, but some small details—like how the line feeds or locks—may differ.
What You Need Before You Start
Before you begin, gather a few simple items:
-
New trimmer line – Most Ryobi weed eaters use 0.080-inch or 0.095-inch diameter nylon line.
-
Scissors or wire cutters – For cutting the line cleanly.
-
A cloth or brush – To clean dirt and grass from the trimmer head.
-
Your trimmer’s manual (optional) – To check the correct line size.
Avoid using thick or metal wire because it can damage the head or motor. Nylon line is designed for flexibility and safety.
Step-by-Step: How to Restring a Ryobi Weed Eater
Step 1: Turn Off and Prepare the Trimmer
Before you touch the head, make sure the trimmer is off. Remove the battery from cordless models or unplug the corded ones. For gas-powered types, set the switch to “off.”
This prevents accidents while you work. Place the trimmer on a flat surface or bench for better control.
Step 2: Remove the Spool Cap
Press the tabs on both sides of the trimmer head to release the cap. Pull it off gently. Inside, you’ll see the spool that holds the cutting line. Some models may require you to twist the cap counterclockwise instead of pressing tabs, so look closely at your trimmer head design. Clean out any dirt or grass packed around the spool before continuing.
Step 3: Remove the Old Line
Pull out any leftover line from the spool. If it’s tangled or stuck, unwind it carefully. Dirt or melted nylon can cause the line to stick, so make sure the spool is clean and smooth before inserting new line.
Step 4: Measure and Cut the New Line
Cut a new piece of trimmer line—about 15 to 25 feet long for most Ryobi models. Too little line will require frequent restringing. Too much can cause tangles or make it hard to fit the spool back into the head. If your trimmer uses a dual-line spool, cut two equal pieces instead.
Step 5: Insert the Line into the Anchor Hole
On the spool, you’ll find a small hole near the center. Insert about half an inch of the line into that hole. This locks the line in place and prevents slipping while you wind.
Step 6: Wind the Line in the Right Direction
Follow the arrow printed on the spool. Wrap the line tightly and evenly from the center outward. Avoid overlapping or crossing the coils. Neat winding keeps the line feeding smoothly later.
If you have a dual-line spool, wind each line in the direction shown for each chamber. Usually, one side winds clockwise and the other counterclockwise. Stop winding when about six inches of line remain free at the end.
Step 7: Secure the Line Ends
Each spool has small notches on its edge. Clip the loose ends of the line into these notches to hold them in place. This step prevents the line from uncoiling when you insert the spool back into the trimmer head. Make sure both line ends are roughly the same length.
Step 8: Insert the Spool Back Into the Head
Feed each line end through the small holes (eyelets) on the trimmer head. Then place the spool inside the housing. Press it down gently until it sits firmly in place. Pull the line ends lightly to check that they move freely.
Step 9: Reattach the Spool Cap
Place the cap back on top of the head and press until both tabs click. If your model uses a twist-on cap, turn it clockwise until it locks.
Step 10: Test the Trimmer
Reconnect the battery or plug in the power cord. Start the trimmer and let it spin for a few seconds. Tap the head lightly on the ground to release more line. If the line feeds smoothly, your restringing job is done. If not, stop and open the head again to check that the line follows the correct direction and isn’t tangled inside.
Tips for Perfect Restringing
-
Keep the line tight and even as you wind it. Loose wraps cause jams.
-
Don’t overload the spool. Always leave some space near the edge.
-
Clean the head after every few uses. Dirt buildup can stop the line from feeding.
-
Replace the line more often during hot weather. Sunlight and heat make nylon brittle.
-
For large yards, keep an extra pre-wound spool ready to save time.
Restringing a Ryobi ReelEasy Head
Some Ryobi models, such as the ReelEasy trimmers, use a different system that makes restringing faster. You don’t have to remove the spool completely.
Here’s how it works:
-
Cut about 15 to 20 feet of line.
-
Align the arrows on the spool cover with the eyelets.
-
Insert one end of the line through both eyelets until equal lengths stick out on each side.
-
Hold the head steady and twist the knob in the direction shown by the arrows. The line will wind inside automatically.
-
Keep turning until about six inches of line remain outside the head.
This method saves time and avoids tangles. It’s perfect for beginners or anyone who prefers quick maintenance.
Common Problems and Easy Fixes

Problem 1: Line Breaks Often
This happens when the line hits hard surfaces or if it’s too thin. Use a thicker line or keep the trimmer slightly above rocks and fences.
Problem 2: Line Doesn’t Feed
The line may be tangled inside or wound in the wrong direction. Open the spool and rewind carefully.
Problem 3: Line Feeds Too Much
The spring under the spool cap might be loose or the head may have dirt inside. Clean the head and check the spring placement.
Problem 4: Line Gets Stuck
Check for melted nylon. Heat from friction can soften the line. Clean the spool and avoid overloading it.
FAQs
Q1: What type of line should I use in my Ryobi weed eater?
Most Ryobi models work best with 0.080-inch or 0.095-inch nylon line. Some heavy-duty versions can handle thicker lines.
Q2: Can I use pre-wound spools instead of winding my own?
Yes. Pre-wound spools fit most Ryobi heads and save time, though they cost more.
Q3: How often should I replace the trimmer line?
Replace it whenever the line shortens quickly, breaks often, or stops feeding. Frequent use may require replacement every few weeks.
Q4: Can I use a different brand of trimmer line?
Yes, as long as it matches the diameter your trimmer supports.
Q5: How do I keep my trimmer line from drying out?
Store extra line in a sealed bag in a cool, dark place. Some people keep it in water for a few days before use to restore flexibility.
Conclusion
Restringing a Ryobi weed eater takes only a few minutes once you learn the steps. You don’t need special tools or experience—just patience and the right technique. A well-wound line improves performance, reduces jams, and makes trimming faster and smoother.
Regular care keeps your Ryobi trimmer in top condition for years. Clean the head, use the proper line, and replace it before it wears out. Small habits like these make a big difference in how your tool performs.
A neat lawn always starts with a well-strung weed eater—and now, you know exactly how to do it right.